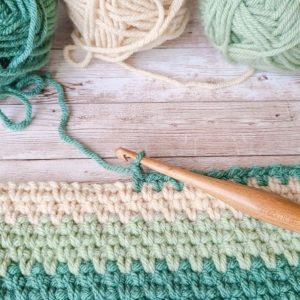
Moss Stitch
Hi there, sweet friend! Welcome to our cozy little corner of the internet, our lovely blog Handmade Learning Here. We’re so happy to have you here! Today, we’re bringing you a lovely pattern featuring the cutest stitch that you can use to create all kinds of beautiful projects. Let’s get crafty together!
Oh honey, I am so glad you stopped by! Pull up a comfy chair, grab your favorite yarn and a warm cup of tea’cause today, I’m gonna walk you through the Moss Stitch like your sweet Auntie from next door would. This stitch is on, of my favorites , It’s simple, pretty, and oh-so-satisfying once you get the hang of it. So don’t you worry if you’re new to crochet, I’ve got your back every step of the way!
What You Should Know Before We Get Started
Before we dive into our little crochet adventure, let’s go over a few important things that’ll make learning the Moss Stitch a breeze:
We work into the chain-1 spaces, not into the top of the single crochets.
Every little single crochet and chain-1 space counts as a stitch in this pattern , yup, they all matter!
The Moss Stitch needs an even number of stitches to work right. So when we start, we’ll always make a foundation chain that’s an odd number: that’s the even number of stitches plus 1 turning chain.
Example: If you want 12 stitches total (that’s 6 single crochets and 6 chain-1 spaces), you’ll start with 13 chains.
Every row after the first one is repeated exactly the same — easy peasy!
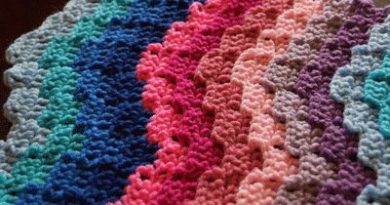
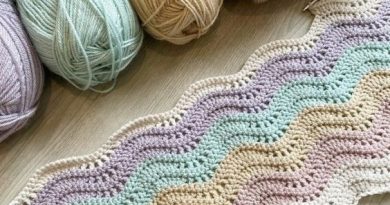
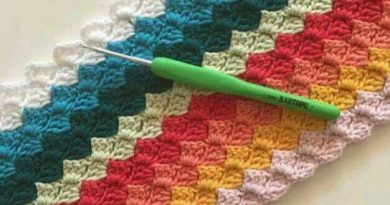
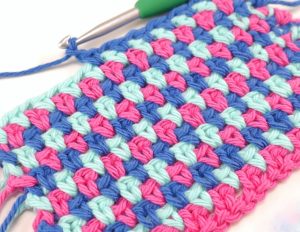
This stitch works beautifully with any yarn you have lying around — solid colors, multicolored skeins, you name it.
Let’s Begin the Moss Stitch
Alright sugar, here we go! For this little practice swatch, we’ll start with 13 chains. (That’s a nice small size to learn with.)
Step 1: Chain an odd number. (We’re doing 13.)
Step 2: Single crochet into the 3rd chain from your hook.
- You might wonder, “Wait, Auntie, don’t we usually go into the 2nd chain?” — and you’re right, darlin’!
- But in this case, we skip 2 chains. One acts as our turning chain, and the other counts as a chain-1 space in the stitch pattern. It helps keep everything straight and tidy.
Pro tip: If you’re just starting out, grab a little stitch marker and wrap it around those 2 skipped chains — not through them, just around them. This makes it easier to see your first chain-1 space. Trust me, this tip saves so much guesswork!
Keep On Stitchin’
Now that you’ve got your first single crochet in, it’s time to chain 1, skip a chain, and make another single crochet into the next chain. Easy as pie!
Keep repeating that little pattern:
Chain 1, skip 1 chain, single crochet in the next — all the way across.
You should end with a single crochet as your last stitch.
By the end of Row 1, you’ll have:
- 6 single crochets
- 6 chain-1 spaces (including the one we skipped at the beginning)
The first row might look a little funky — that’s totally normal! Chains are slippery little things. Give it a gentle tug or stretch so you can see your chain-1 spaces better. I promise it gets easier with each row.
Time for Row 2 (And Every Row After!)
Guess what? Every row from here on out is the same! That’s one reason I just love this stitch, it’s like a little crochet rhythm.
Step 1: Chain 2 and turn your work.
Just like before, the first chain acts like our chain-1 space and helps us “skip” that first single crochet.
Step 2: Single crochet into the first chain-1 space.
(Not into the top of the stitch, sweetie, into the little gap!)
Now repeat across:
Chain 1, skip 1 stitch, single crochet in the next chain-1 space
– nice and easy all the way to the end.
At the end of the row, your last stitch will go into that last chain-1 space, and remember, you can use that handy stitch marker to help find it if it’s being shy!
Making a Gauge Swatch (Don’t Worry, It’s Just a Little Math)
So you’ve fallen in love with the Moss Stitch (who wouldn’t?), and now you’re dreaming about a baby blanket or a dishcloth. Let’s figure out how big to make it.
Step-by-step:
- Make a swatch that’s at least 4 inches wide and tall. Just chain an odd number and crochet a few rows of the Moss Stitch.
- Measure 4 inches across and count how many stitches (both single crochets and chain-1 spaces) are in that space.
- For example, let’s say you count 12 stitches in 4 inches.
- Figure out your project size. If you want a 32-inch wide baby blanket:
- 4 inches fits into 32 inches 8 times.
- 12 stitches x 8 = 96 stitches.
- And remember, we always add 1 to make it odd, so chain 97!
Little tip: If your math gives you a weird number (like 11.5), just round up or down and then adjust to the nearest odd number. Easy fix!
Final Thoughts
And there you have it, sugarplum! The Moss Stitch is a relaxing, meditative stitch that builds up beautifully. It’s perfect for blankets, scarves, dishcloths, or anything else you want to wrap in love.
Remember: take your time, enjoy the rhythm, and don’t be afraid to rip back a row if something feels off, we all do it!
And if you ever feel stuck, just imagine me sitting next to you, with a big ol’ smile and a ball of yarn in my lap, cheering you on. You’ve got this!
VIDEO TUTORIAL
In a nutshell, the Moss Stitch is one of those charming little stitches that wins you over with its simplicity and versatility. It’s super easy to learn, making it a perfect choice for beginners, but it also appeals to seasoned crocheters looking for a clean, delicate, and modern look. Whether you’re working on blankets, scarves, dishcloths, or home décor, this stitch gives everything a beautiful, even finish.
Why not give the Moss Stitch a try in your next project? I just know it’s going to steal your heart—and become a favorite on your hook! 💕
Thanks so much for hanging out with us, sweet friend! Don’t forget to check out our other posts. See ya soon! XoXo 💖🧶